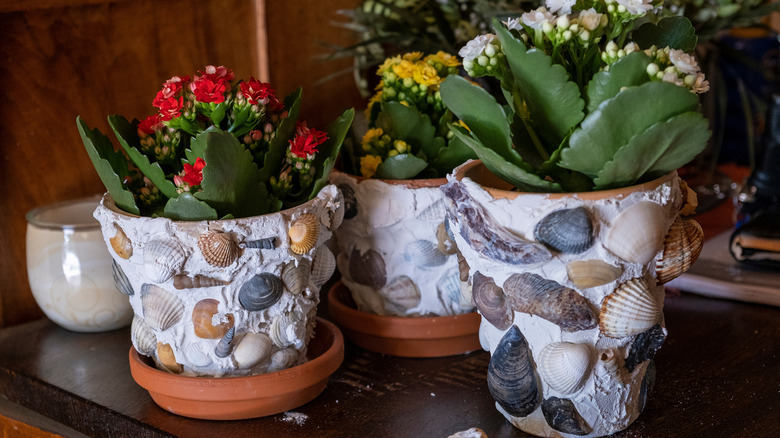
A Simple DIY Planter That'll Add A Coastal Vibe To Your Outdoor Space
We may receive a commission on purchases made from links.
Finding a beautiful seaside-themed planter at a reasonable price can feel like searching for a perfect, unbroken seashell in the surf — frustratingly elusive. But with a little creativity and just a few supplies, you can make your own DIY flower pot that's both charming and unique by using common buckets as molds.
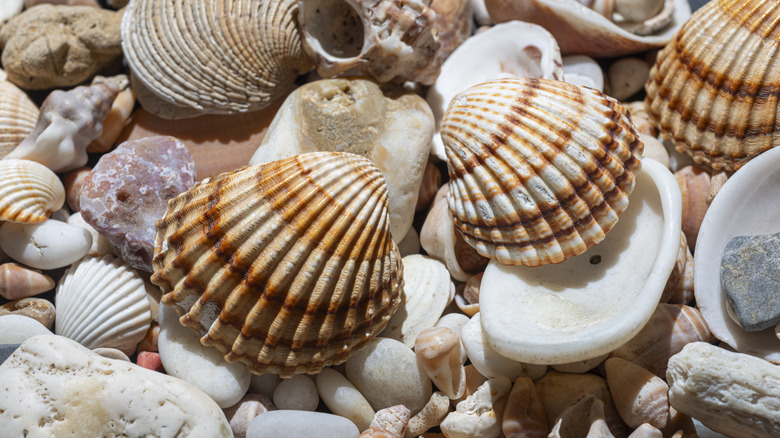
You may want to work on this project outdoors as it can get a little messy. You'll require a pair of work gloves (like these from Handlandy), a filled hot-glue gun, and a 1-inch piece of PVC pipe. To ensure your finished planter will slip easily out of the buckets, grab some vegetable-oil spray. You'll also need two watertight buckets, such as a 5-gallon one and a 2-gallon one — the smaller should fit inside the larger with plenty of space around it. Other materials you'll need include fast-setting concrete like Quikrete, a sturdy metal trowel, and a large plastic bucket for mixing. Have a garden hose or a pitcher handy for water, plus a small disposable container to help you pour the cement. Finally, you'll need some painter's tape, tile grout, and seashells — you can find some at the beach or craft store.
Creating a seashell-embellished cement flower pot
You can make a drainage hole for your planter by centering a vertical piece of PVC pipe in the inside of the large bucket and then hot-gluing it in place. Then spray vegetable-oil spray liberally inside the bucket so it won't stick later. Fill your mixing bucket with cement mix, estimating how much you'll need. Use a pitcher or garden hose to add water per the package's instructions; use your trowel to stir the mixture. Work quickly; the cement will start hardening instantly.
Pour the cement into the larger bucket/mold, filling it about one-third of the way. You might find it easier to use a small container, such as a clean, empty milk jug, for pouring. Next, place the smaller bucket/mold upright directly on the PVC pipe. Pour cement around the outside of the small bucket until it's level with the top of that container; avoid getting any cement inside it. Tap the sides of the large bucket to eliminate air bubbles and smooth the upper surface of the cement with your trowel. Use painter's tape across the tops of the buckets to hold everything in place. Let the concrete cure for at least 24 hours. When the cement is dry, gently remove the inner bucket. Tap the large bucket lightly on all sides to release the outer mold; then turn it upside down to carefully slide it off your planter.
Then, decorate your planter — you can create some mosaic art by gluing your shells in a pattern around its exterior. Filling in the gaps between the shells with grout will give it a more polished appearance. Finally, you can add a flower and plant combo like petunias and sweet potato vines to make your creation even more beautiful.