Make A Flashy First Impression By Using Tiles On Your Front Porch
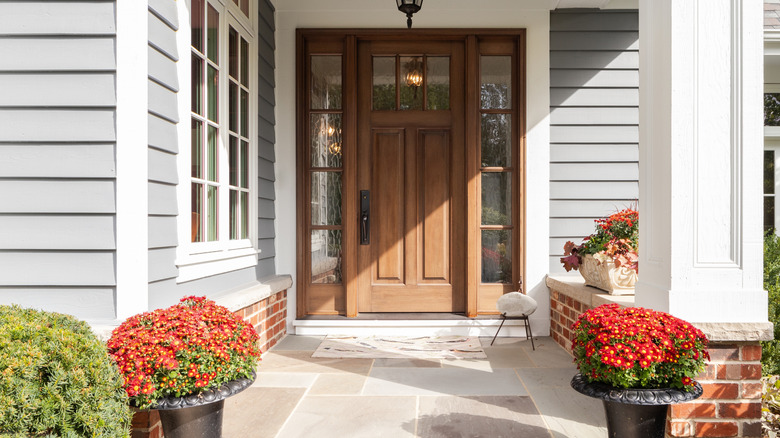
Your front porch may take a bit of a backseat (pun intended) to the more private, cozy nooks in your backyard. And if you don't hang out there often, it might be lower on your priority list. But think about all the time you do go out on the front porch: Gathering packages or deliveries, answering the door for visitors or neighbors, and even leaving for appointments or returning home each day from work. Your front porch is like your home's handshake; it can set a strong tone that can boost curb appeal. In fact, when you want to amplify your home value and curb appeal, a simple and relatively inexpensive way to start is with your front porch. Look beyond a welcome mat to maximize and anchor your home aesthetic by trying a DIY outdoor tile design project.
You've likely laid out a store-bought welcome mat with high hopes of it adding some ambiance only to have it show signs of wear and tear faster than you expected. The result is an embarrassing, shoddy looking mat that makes your neighbors wonder if you've moved out, given up, or just really hate guests. By getting creative with tiles, you can craft a unique, high-impact design that showcases your personality and stands up to weather, foot traffic, and those judgy Joneses next door. And while tiling a porch, outdoor entry, or stairs may seem daunting at first, once you get the hang of laying tiles, you may want to move on to adding tile to your outdoor kitchen like HGTV's Jonathan Scott.
How to upgrade your front porch with a creative tile installation

Similar to DIY paver projects that take your landscaping to the next level, using tile gives you nearly unlimited options for expressing your unique style. Start by deciding on your project size. For instance, you can opt for a small tile welcome mat or a larger design encompassing your whole front porch, including your entry steps. Next, contemplate what look you want to achieve. Opt for a more neutral design that matches your home architecture, such as terracotta tiles for a rustic look, or create a more modern and dramatic visual using patterned tiles. You can even try an eye-catching mosaic design that pairs with matching planters.
While the creative options you can imagine for this project are nearly endless, executing it correctly does take some careful planning and preparation, as well as some potential tool rentals. When you're ready to start, there are a number of great tutorials online. First, you need a level and flat surface that is clean. Many front porches start as even, poured concrete, so power washing the surface to remove dirt, then using a blower to eliminate debris is step one. Next, purchase the right mortar and mix it correctly following product instructions. Arranging the tiles before permanently installing them allows you to plan the layout and cut tiles as needed. Start on one end and work toward another, using spacers, to yield the best results. Continue to check evenness with a level as you progress. When it comes time to cut tiles, measure and remeasure to ensure accuracy. Finally, spread grout between the tiles, wiping off excess material as you go. Depending on your porch size, having two people work on this project can help ensure success.