Spice Up Your Lawn With A Budget-Friendly DIY Path
Whether you're a new homeowner wanting to make your mark on a fresh space or just looking for a project to beautify your yard and add value to your home, you may be on the hunt for simple, effective, and relatively inexpensive walking path ideas. Luckily, there are numerous ways to lay down an attractive pathway that won't require you to shell out thousands of dollars to a local stonemason. One such DIY path design calls for repurposing tree rounds to create a lavish yet rustic garden path. If you happen to have access to a number of stumps, branches, or wood slices, this would be the ideal construction to beautify your garden, as it utilizes natural elements of your surroundings and allows you to return the wood to nature in an aesthetically pleasing design.
Do your homework regarding what kinds of wood you're using. For instance, if you'd like your path to last for many years, you may want to opt for teak, mahogany, or ipe wood. These hardwood surfaces are known for their natural resistance to rot and decay, making them ideal to survive the tumultuous outdoor elements. Of course, if you're looking for a budget-friendly option, you can always stick to the less expensive softwoods like cypress, pine, and cedar. These wood types should hold steady for at least a few years as long as you treat them with an appropriate sealant.
How to lay down your own wood slice pathway
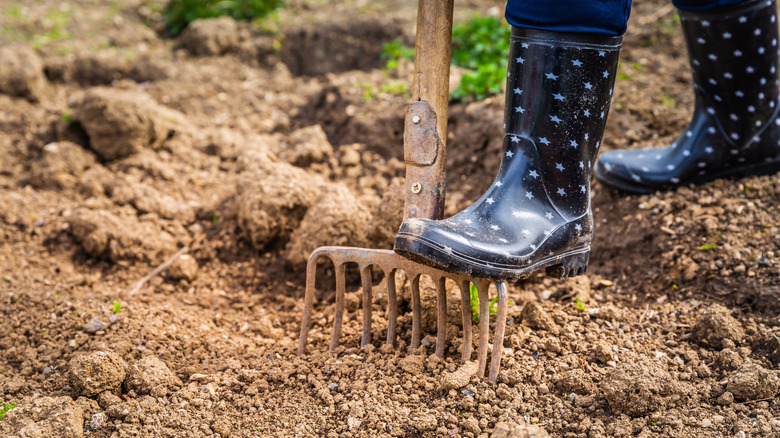
Before you begin laying down your materials, perform some basic techniques to prepare the area for your new path. Level and compact the ground using a shovel or plate compactor. Put down a layer of sand to keep your walkway sturdy. You may also need to use some lawn edging ideas. If you're using softwood, treat your slices before laying them down in order to prevent rot and ensure that they hold up against the weather. Your treatment will largely depend on your specific materials, though most softwoods look great with a layer of beeswax and linseed oil. Of course, if you live in an area with more extreme weather conditions, it may be prudent to skip the beeswax and go straight for an industrial alternative.
Next, arrange your wood slices in a perfectly-aligned pattern, a tight helix of stepping spaces, or a unique aesthetic design. When everything is in place, cover the whole affair with another layer of sand to fill in any gaps, using a large broom to push it between the wood slices. This is an important step, as doing so will prevent tripping hazards and fend off weed growth. Finally, adorn the sides with a variety of plants, pillars, or DIY light-up logs. Bear in mind that this path may not be a permanent structure, especially if you're going for a low-cost sealant from your local department store. Still, if everything is done right and the weather cooperates, you should be able to squeeze at least a few years out of your new path.