Successfully Start Seeds With A Clever Space-Saving Soil Trick
We may receive a commission on purchases made from links.
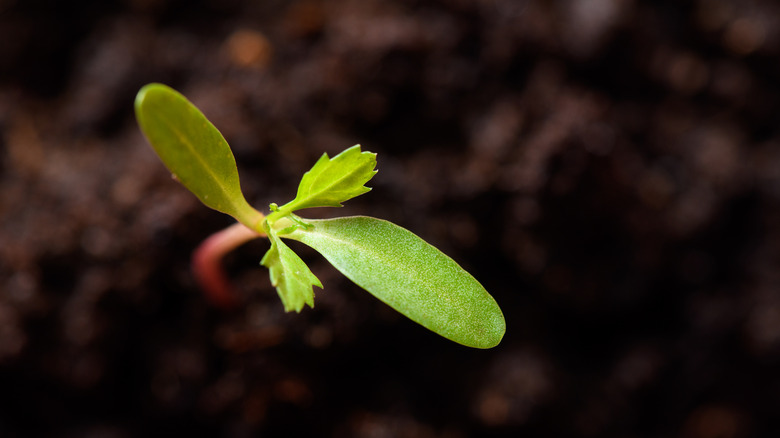
Whether utilizing a raised bed or in-ground garden, one of the biggest mistakes beginning gardeners make is planting too early. In order to avoid this, it is often a good idea to start plants inside, then transplanting them outdoors once the threat of frost has passed. However, although starting seeds indoors before the growing season officially begins can help avoid frost and ensure proper germination, it can also take up a lot of space in your house. Seed trays and containers require room — not just while they are in use starting seeds, but also while they are being stored for future use. You can do away with plastic containers once and for all by utilizing soil blocks, a clever space-saving soil trick for successfully starting seeds.
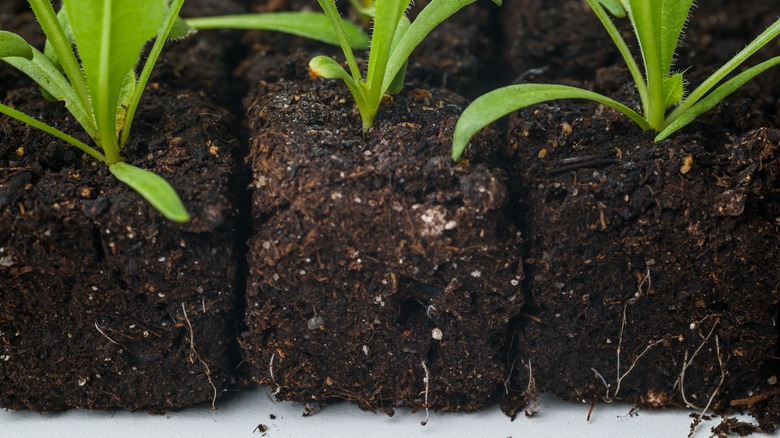
However, saving space isn't the only advantage this technique. Soil blocks are just what they sound like — cubes of soil compressed so that they hold their shape outside the confines of a container. Reducing plastics by not needing the containers in the first place is another perk. But the plant also benefits from the use of soil blocks. For one, there is no risk of overwatering seedlings as the excess water can simply drain out of the block. Roots that begin to extend beyond the block will also by naturally pruned, making for a healthier root structure. When it comes time to move the plants outdoors, there is less transplant shock since the entire block is simply placed in the new location, whether it's the ground or a larger container.
How to make soil blocks for starting seeds
It is possible to buy premade soil plugs. However, DIY soil blocks is neither time-consuming nor expensive. You don't need any specialized equipment, although a block maker such as the Blumway 8-cell soil block maker comes in handy if you want a large quantity of blocks. If you don't have block maker, you can improvise by utilizing ice trays or empty paper towel tubes cut into sections as forms for making blocks. Although blocks can be made many sizes, 2-inch mini-blocks are the most common and versatile.
The first step is to gather your supplies. You'll need a block maker or improvised block forms, potting soil mix, a large tub or bowl, warm water, seeds, and a cookie sheet or similar tray to place the finished blocks on. For the soil mix, blends that have a heavy dose of fibrous material such as coconut fiber or peat moss (as much as half the blend) tend to work best as they help the block maintain its shape.
Once you have the materials, mix your potting soil with warm water in the tub or bowl until it is the consistency of firm mud. Add a little more soil if it's too moist. Next, fill the block maker or forms with the wet soil, pressing the soil evenly into them. After you have pressed each section of soil as tightly as possible, use the lever mechanism on the soil block to lift the device away from the formed blocks. If you're using a DIY form such as a toilet paper tube, use a piece of wooden dowel rod to push the block down while lifting the tube. Finally, sow 1 or 2 seeds per block (you don't want more than that).