Making Starting Seeds Easier With This Must-Try DIY Seed Tape
It's easy to spill seeds or accidentally place them too close together when sowing them in the garden. Seed tape prevents these problems while making seedling thinning a much quicker process. Best of all, you can make this handy planting aid at home. Crafting it in the winter or early in the spring is ideal, as it helps you get ready for the planting season. You can plant finished seed tape in outdoor gardens or use it to start seeds for a spring garden indoors. DIY seed tape is also a nice present for the gardeners in your life. It's especially fun to make with kids and other makers who enjoy hands-on activities.
Ready to create your own seed tape? Your first step is rounding up supplies. The main items to gather are a tiny paintbrush, scissors, flour, water, and paper that decomposes safely and easily. Paper towels, toilet paper sheets, tissue paper, and newspaper work well, but avoid glossy magazine pages and paper that contains colored ink or dye. If you're out of flour or allergic to gluten, cornstarch is a good alternative. Should you go this route, you'll need a heat source to turn it into a glue-like substance. Don't have a paintbrush at home? A toothpick, cotton swab, or small makeup brush will work in a pinch. Grab a pencil or pen and a ruler, too. You'll also need seeds. Small seeds — those from lettuce or radish plants, for instance — are best for this project.
How to create seed tape at home
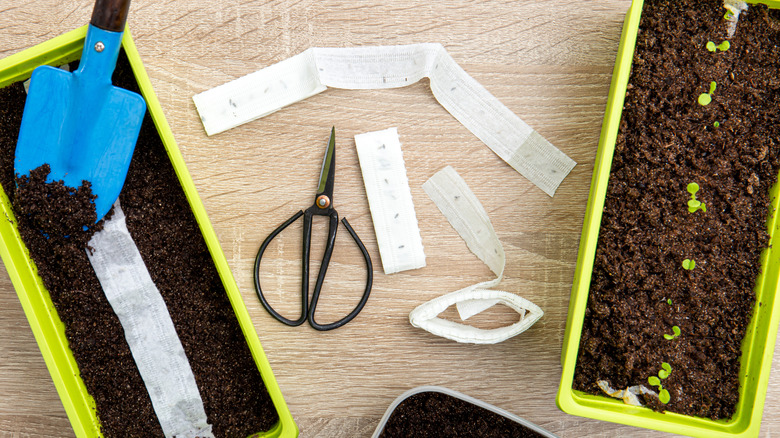
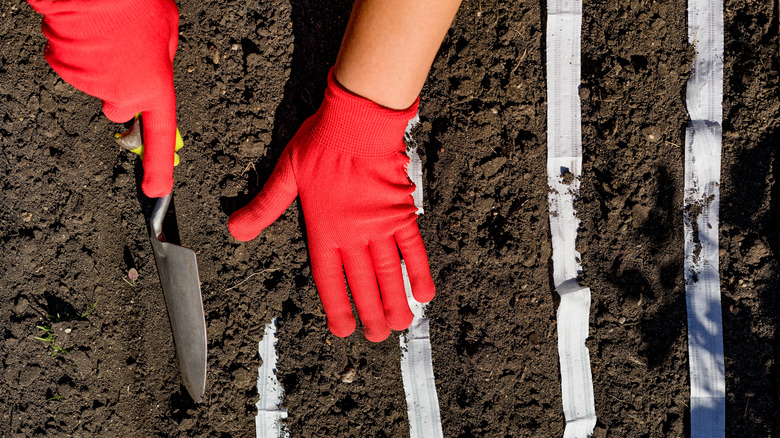
To make seed tape, cut your paper into long strips that are about ½ inch across. Check the recommended spacing for the seeds you've selected. Then use your ruler and pencil to mark where each seed should go on the tape. Write the date and seed type on the tape if you'll be planting it at a later time. Next, make an adhesive by combining equal parts of flour and water. You won't need much, so start with a teaspoon or so of each ingredient. Blend them together until they're smooth. If you're using cornstarch, mix it with boiling water. Let the adhesive cool before seeds come into contact with it.
When your adhesive is ready, use your paintbrush to dab it on each mark you've made on the paper strips. Afterward, drop one or more seeds onto each sticky spot. If you're working with lettuce seeds or something just as minuscule, put two or three of them on each dab of adhesive. Have slightly bigger seeds from spinach, marigolds, or other plants? Affixing one to each sticky spot should be fine. Then, place the tape somewhere it will dry quickly. A warm place with good air circulation is ideal.
Once the adhesive dries, store the seed tape in sealable plastic bags. When it's time to plant your tape, make sure to place it at the correct depth and keep it damp until the seeds sprout. If you're planting seeds with thick exteriors, consider moistening them with vinegar, a hack that promotes germination. You could also sprinkle them with cinnamon, which some gardeners use as a rooting agent.