

Keep Weeds Out Of Your Concrete Driveway Cracks With A Budget Solution
We may receive a commission on purchases made from links.
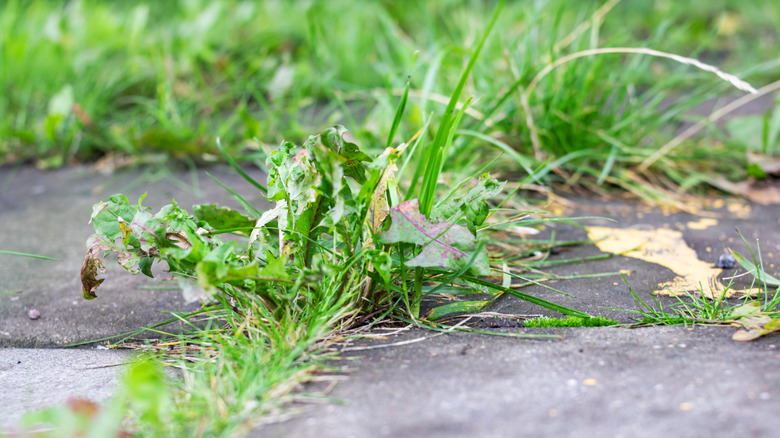
If you have a concrete driveway, at some point cracks will develop. When cracks form, weeds tend to fill the gaps quickly. In fact, even cosmetic cracks and indentions in concrete can be an issue, as they accumulate just enough sediment to grow weeds. While you can combat the problem with store-bought or DIY weed killers, that can turn into an ongoing, often expensive, battle. Instead, polymeric sand may just be the super-effective solution you're looking for. It will keep weeds out of your concrete driveway cracks without spending a lot of time or money. It's also easy to apply, long-lasting, and available in several colors.
Polymeric sand is the same material you would use when creating a backyard patio out of pavers. Essentially polymeric sand is a combination of fine sand and adhesive binders. When it comes in contact with water, these binders are activated and lock the sand granules together, forming a solid substance. This makes it an effective, long-term solution for weed control in concrete driveways: It can be used to quickly and easily fill cracks, gaps, and depressions, preventing both sediment accumulation and weed growth. Even better, a 10-pound bag of something like Dominator polymeric sand costs about the same as a gallon of weed killer — which needs to be reapplied at least once or twice each season — making it a cost-effective measure as well. However, it's important to remember this is a quick fix for a few cracks. It's not applicable for serious concrete repair where needed. In that case, you're better off calling in a professional for outdoor renovations.
Using polymeric sand to prevent weeds in concrete driveways
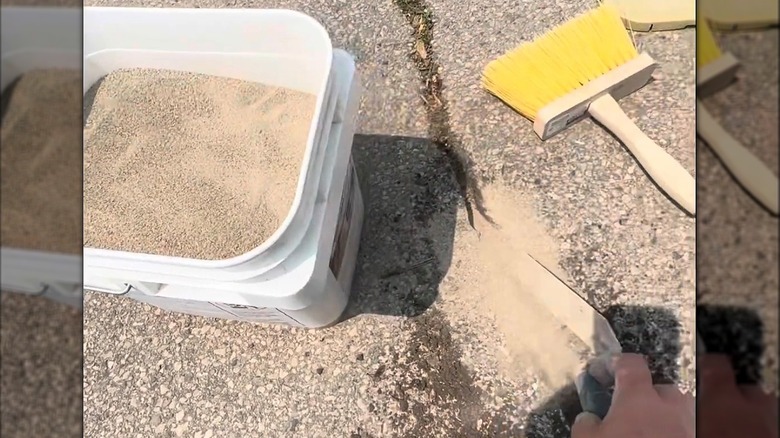
Beyond being effective and inexpensive, using polymeric sand to prevent weeds in your concrete driveway is also relatively simple. In fact, just about any DIYer can accomplish it using just basic tools. The first step is to remove weeds from the driveway cracks. Then, using a brush, broom, or leaf blower, clear all of the debris, dust and dirt out of the cracks.
Once the cracks are clear of debris, make sure the surface of the driveway is completely dry. Then, fill the cracks and gaps to the top with polymeric sand. Use a light broom to sweep away all excess sand. Be sure to clear away any areas where you don't wish to have the cured sand, such as on the surface of the driveway. Once polymeric sand sets, it is almost like concrete and can be very difficult to remove. For the same reason avoid overfilling cracks, as doing so could result in bumps in the driveway. With wide cracks, fill the bottom half or two-thirds with regular sand, then top with the polymeric sand. This will allow for flexing during freeze-thaw or high moisture cycles.
After the excess polymeric sand has been cleared away, lightly wet the entire area with a fine mist of water. You can use a regular spray bottle set to mist. Don't overdo it — the sand just needs to be damp in order to activate the bonding agents. At this point, it is a good idea to double-check that there is no sand in unwanted areas. Should there be, clean the area immediately with a wet cloth. You can do a second light misting to ensure even activation. Then, allow the polymeric sand to cure for at least 24 hours before using your driveway.