Say Goodbye To Boring Concrete Steps And Try This Stylish Painted Upgrade
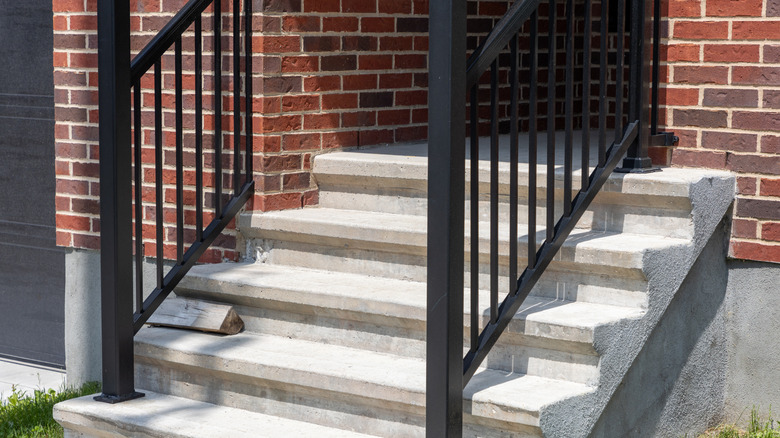
Concrete steps come with plenty of benefits for homeowners. They're relatively easy to build and maintain, and they're affordable. While concrete steps are great, they're also pretty gray. Older concrete steps may be stained or scuffed as well, making them less appealing. While you can regularly refinish your poured concrete patio and stairs to improve this, there's another option. With proper preparation, concrete can be painted to create a unique and stylish look. Upgrade it further by making stencils to add patterns for a professional look with a DIY price tag.
To make the stencils, you'll need either thick paper or thin plastic that can be cut through and hold up when paint is applied over it. Trace your design onto it and cut it out to make the stencil. A simple repeating pattern is the easiest for beginners, but you can be as ambitious as you want. For more complicated shapes, print out a picture of the shape you want in the correct size. This is a chance to personalize your steps and reflect your style. Go bold with complicated birds and vines or keep things simple with small swirls or flowers.
For the rest of the process, there are a few supplies to grab before starting. You'll need to clean the steps, and you can either clean concrete with dishwashing liquid or rent a power washer. If your stairs are cracked or rough, you may also want sanding and repair supplies. You'll also need a primer and sealant to protect the concrete, as well as paint. For best results, use paint designed for outdoor use, as it's formulated to withstand weather exposure.
Preparing your concrete stairs
Start by cleaning your stairs. This step matters because both primer and paint adhere best to a clean, smooth surface. If you have any scratched, chipped, or otherwise rough sections, now is a good time to sand them smooth or repair them. Not only will it make painting the stairs easier, but it'll also make your stairs more appealing to look at and walk on. Since the stairs will be painted, cosmetic damage like stains or scuffs isn't a concern.
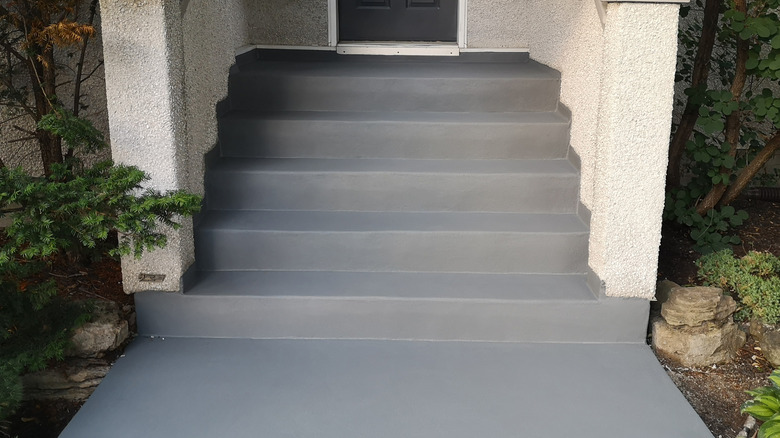
Once your stairs are clean, let them dry completely before applying the sealant. Concrete sealers protect your concrete from damage and help prevent water and other liquids from soaking into the concrete. While paint may adhere without a sealant, sealing the stairs protects them long-term. Follow the instructions on the packaging carefully, and wait for it to fully cure before moving on.
Next, apply two layers of primer to your stairs. Primer is vital for forming a barrier between the porous concrete and the paint, as well as for filling in any tiny cracks that you couldn't see or repair. Try to apply each layer evenly, and let it dry before adding the second layer. If the stairs are new, in good condition, and you're painting them a darker color, you may only need one layer. Multiple layers are helpful if the stairs are older or you plan on painting them a lighter color.
Painting your stairs
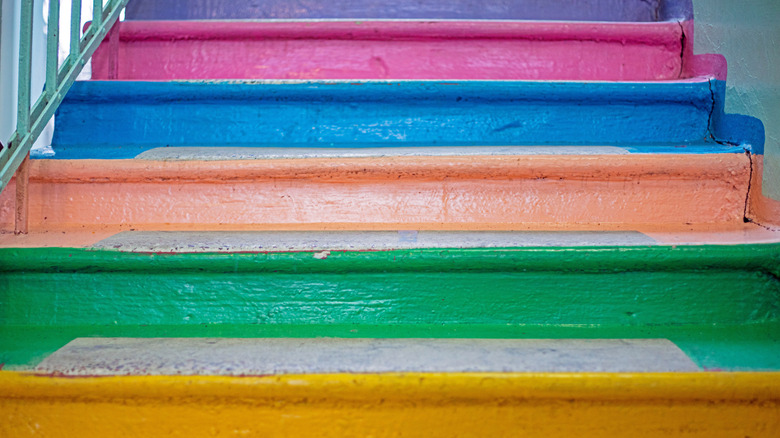
Now that your stairs are clean, sealed, and primed, you can get started on the fun part! Apply a base coat of your main background color. If you're having trouble picking your colors, research some of the best and worst colors for an outdoor space. Let it dry, then add a second coat to make sure the coverage is even and none of the primer is showing through. If you have any larger design elements, such as stripes, add those first. You can use painter's tape to keep your lines clean, or freehand it for a more casual look.
Next, break out your stencils! If you want the designs to look professional, consider planning out exactly where you want them. For patterns, a ruler can help ensure that each element is spaced evenly and is at roughly the same placement. If you want to have multiple of the same design in different colors, you can minimize cross-contamination by doing each color separately. For example, if you want alternating pink and green flowers, do all the pink flowers first, wipe the excess paint off the stencil, let it dry, then add the green ones. Wiping excess paint from the stencil helps keep designs crisp and clean. Keep in mind that anything on the front of the steps will be more visible to anyone walking up, while designs on the top will be more visible when walking down.