What To Know Before Installing Pavers On Your Sloped Lawn
We may receive a commission on purchases made from links.
Many homes sit on sloped lots thanks to natural topography, especially in areas with rolling hills or shifting elevations. Having a sloped yard isn't necessarily a drawback. In fact, there are creative ways to make a sloped backyard more private, and it can offer perks like better views, more natural light, and even the chance for a walk-out basement. Even lawns that appear flat often carry a subtle grade of around 5%, which is considered ideal for drainage. So, in reality, sloped yards are more common than most homeowners realize.
The good news? A slope doesn't mean you have to sacrifice your dream patio, especially since it's an outdoor update that can add serious value to your home. Pavers can absolutely be installed on an incline, but the process does call for a little more forethought. With the right preparation, you can create a hardscape that looks seamless and holds steady over time. It's all about managing the grade, reinforcing the base, and building stability from the ground up.
How to plan and build a patio on a slope

Before starting your patio project, take a moment to size up your slope. A gentle grade? Easy enough to work with. A steep one? You may need to add a small retaining wall or build your patio in levels for safety and stability. Use stakes, string lines, or even a garden hose to outline your project area, and then grab a level to measure how much drop you're working with. Patios should slope no more than 2% for proper drainage, while walkways can handle up to 5% if the surface is non-slip. Anything steeper than that and you'll want to rethink the layout so no one feels like they're climbing a mountain just to get to their patio chair. This might make it one of the outdoor renovations you shouldn't do yourself, depending on the slope grade.
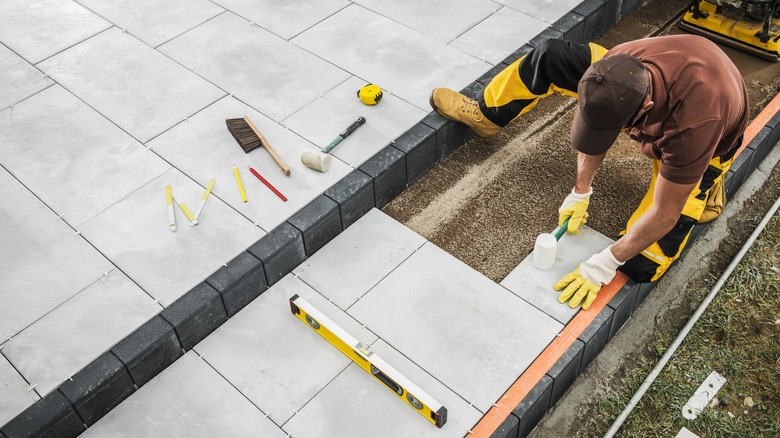
Once your area is mapped, it's time to dig in. Excavation is key to a long-lasting patio. Plan to dig down at least 8 inches (more if your soil is heavy clay) to make room for a strong gravel base. Compact it as you go and layer in gravel reinforced with a geogrid stabilization product like DriveGrid Bi-Directional Grids to keep everything locked tight. After that, spread a 1-inch layer of coarse sand or chip stone and screed it smooth over the gravel base.
Think of this step as creating the canvas for your patio masterpiece, setting the stage for your pavers to sit evenly and securely. From there, start laying pavers at the lowest point, cutting pieces where needed, securing the edges, and topping it off with joint sand and an optional sealer. Done right, your patio will survive the slope and look like it was meant to be there all along.