Tips For Successfully Saving Your Tomato Seeds For Planting
We may receive a commission on purchases made from links.
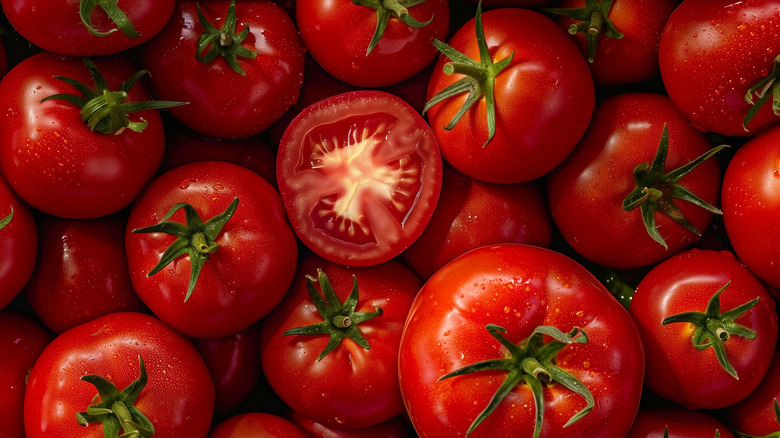
One of the main reasons gardening is good for your health is the ability to prepare meals with freshly harvested fruits and vegetables. To that end, the most commonly grown garden vegetable is tomatoes, which are cultivated in more than 85% of the backyard gardens in the United States. Tomatoes are not just good for you, but they are also considered a fuss-free plant that beginner gardeners can grow. If you are ready to grow tomatoes, you may want to consider saving seeds for future plantings. Those familiar with the process of saving seeds from other fruits and vegetables will recognize many of the steps, although there are some differences, primarily the process of fermentation.
One thing to keep in mind before you decide to jump into seed-saving mode is that not all varieties will necessarily replicate with accuracy. If you are looking to save seeds, you need to work with heirloom varieties. While various hybrid tomatoes have been bred to carry many desirable traits ranging from flavor profiles to disease resistance, they are not great choices for seed saving. For starters, the vast majority of hybrid tomatoes produce sterile seeds. Those which can be grown typically will not produce the same type of tomatoes as the parent plant. Rather, it will have the genetics of one or the other varieties which were combined to create the hybrid. However, if you have had a good harvest with an heirloom variety of tomatoes you particularly enjoy, it's simple enough to successfully save your tomato seeds for planting.
How to save tomato seeds for planting
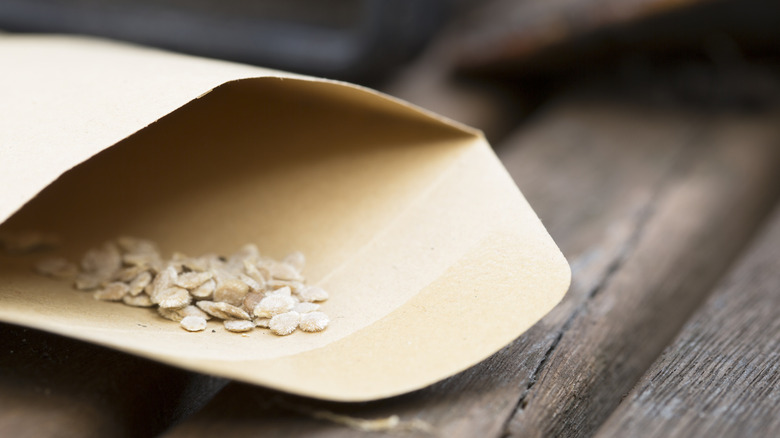
The first tip for saving your tomato seeds for planting is to let your current crop fully ripen. The more mature tomatoes will usually yield better seeds for saving and planting. It's actually not a bad idea to designate a few tomatoes specifically for seed harvesting, allowing them to age a bit beyond when you would typically pick them for eating. The next order of business is to gather the supplies you need, including a large mixing bowl, jar, strainer or colander, sharp knife, spoon, paper towels, and paper plates. You will also need some storage envelopes, like the Wteehn small resealable seed envelopes.
Once you've got the tomatoes and supplies, cut the tomatoes open, scoop the seeds from the inside, and place them in a bowl. Some tomato flesh will come off with the seeds, which is okay. Next, put everything you scooped into a clean jar, add warm water to cover the tomato pulp, stir, and cover the jar by either placing the lid on top or using a paper towel. It should be allowed to sit in a warm place for a few days, with just a gentle daily shake to help the seeds separate from the flesh.
Once the fermentation is complete — indicated by a layer of bubbles or foam atop the liquid in the jar — dump the contents into a sieve or colander and give it a thorough rinse. When they are completely clean, lay them on a paper plate to dry. Shuffle them a bit each day so they don't stick to the plate. When they are completely dry, put them in the storage envelope and keep it sealed until it's the best time to plant tomatoes in your garden once again.