DIY Concrete Garden Cobblestones With These Helpful Tips
We may receive a commission on purchases made from links.
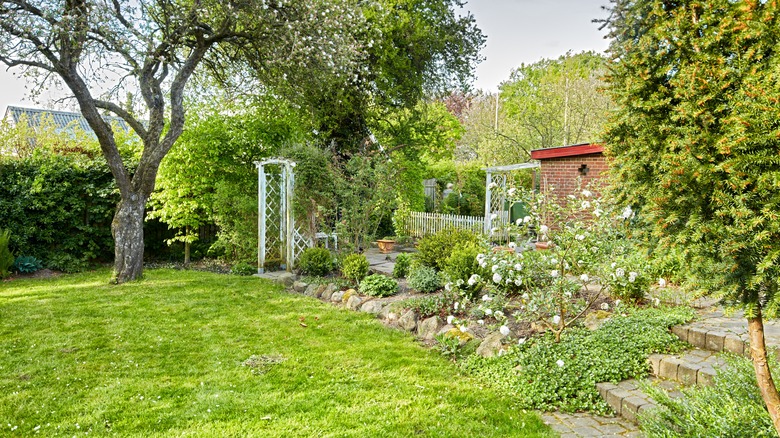
Whether improving your backyard or garden, a cobblestone path is one way to update and add serious value to your home. But instead of buying the cobblestones, there's an easy and inexpensive way to make them yourself. Simply fill sealable bags with concrete mixture, then line your path or patio with the bags. Let them dry overnight before cutting open the bags and removing them. When complete, you'll have beautiful cobblestones that you made yourself.
Concrete is a great option for a material to make DIY cobblestones. It's long-lasting, weather-resistant, and inexpensive. In fact, it's the best patio material for tight budgets. Plus, concrete is easy to work with and can be customized to resemble pricier brick or stone, making it an aesthetically-pleasing choice. Using concrete along with a few additional common household and building materials, you can easily DIY your own path or patio.
Before making your cobblestones, you'll have to clear the area you intend to add cobblestones to. Gather garden tools, such as a weed puller, a rake, and a tamper. In addition to a concrete mix such as Quikrete, you'll need a bucket, a tool to combine the concrete mix and water, a trowel to scoop it into the bags, and sealable bags, like Ziploc® Quart Food Storage Freezer Bags. You'll also need sand, a utility knife, a small shovel, and a broom.
Make your own cobblestone path

Start by prepping the space. Remove any grass or weeds from your work area. Then flatten the ground and add any necessary borders or retainers. Once the area is ready, determine the number of bags you need. This can be as simple as placing empty bags side-by-side until the space is filled.
Follow the instructions on the bag to mix up the concrete in a bucket, keeping in mind that adding some water to the bucket first will help avoid dried concrete from sticking to the bottom. Once mixed, it should slide off the trowel easily. Fill the bags no more than ¾ of the way full and squeeze out the air. Place each bag around the perimeter with the seal tucked under. When the concrete has set, remove the bags by cutting them open with a utility knife and fill the nooks and crannies with sand. Sweep the sand around to add color and age to your homemade cobblestones.
You could also add glow-in-the-dark rocks or other decorative pebbles and embellishments (that are safe to walk on) to the top of your stones for a little outdoor fun. To do this, cut small x-shaped openings in the bags before the concrete mixture has set. Press the decorative elements in enough to stay put and close up the opening. Alternatively, to create more round stones, try wrapping the mix in plastic wrap instead of using plastic bags. When it comes time to tidy up, you can easily clean concrete with this kitchen staple.