The DIY Plant Stand That'll Help Add Greenery To Your Small Yard
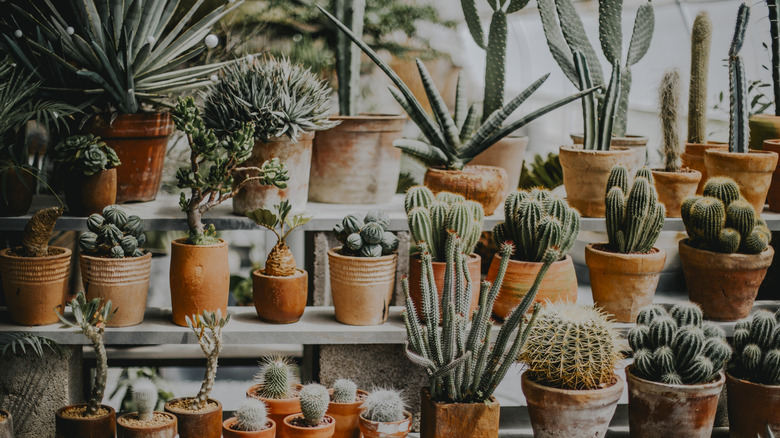
If your backyard consists only of a small lawn, then it may feel like gardening is out of the question. But don't lose hope yet — you can transform even the smallest of spaces into an outdoor oasis and take advantage of the many benefits of gardening. This simple but clever 3-tier garden stand is the perfect fit for those with small yards wanting to add a touch of nature to their space. Plus, with no tools required, it's easy enough for even the beginner DIYer.
Depending on your experience level and how frequently you get crafty around your home, you may already have many of the supplies needed for this plant stand on hand. However, if you don't, don't worry. This DIY uses common materials that you can find at most hardware stores. Here are all the supplies you'll need to get started on this project: gravel for setting up the foundation of your plant stand (you can skip this if building on a paved or wooden foundation); construction adhesive fit for exterior use; ten standard concrete blocks; 10 single or cubical blocks; and three pieces of 2x6 wood (approximately 10 feet long each).
Before getting started, make sure to check with your local HOA if needed and brush up on your DIY safety knowledge. You should also be wary of sneaky gardening dangers that may pop up while building this shelf, like too much sun exposure.
How to build a simple tiered garden stand
After you've picked up your supplies, you can start the building process for your brand new DIY plant stand. If you're using gravel to create a base for your stand, you may need a shovel for spreading and flattening. If you're building on a paved or wooden surface like your patio, you can skip this step. One of the most important parts is making sure your base is leveled. You can eyeball this step or use a level if you have one on hand. If the first few blocks of your stand aren't level on the ground, your entire stand will be unleveled, affecting its stability and safety.
The first layer starts with a standard block in the front, with a single block glued behind. The next layer will be done in a similar way but you stagger it. This means that instead of placing a standard double block in the front, you'll glue the single block to the front instead. Make sure to use glue in between each layer. Once you reach the desired height for your lowest tier, begin using only double blocks glued to the back. Then, after completing your middle tier, use only single blocks in the back to reach your desired height.
Repeat this process on the other side to create a frame for your shelves and then finish by gluing your wooden boards to the exposed block at each tier. This DIY stand is fully customizable, so you can paint your shelf a popular outdoor color or adjust the height to fit your needs.