DIY A Simple Tomato Plant Watering System With A Plastic Nursery Pot
We may receive a commission on purchases made from links.
Tomatoes are far and away the most popular vegetable to grow for backyard gardeners in the U.S. This is due not only to their popularity as a versatile food product but also to the simple methods that can be used to grow them. Although tomatoes are generally considered fuss-free plants that are easy for beginning and experienced gardeners alike, it is just as easy to make mistakes that can stymie their growth. One of the biggest mistakes gardeners make is over or underwatering. This problem can be avoided by creating a simple tomato plant watering system with a plastic nursery pot that will direct water straight to the roots of the plant.
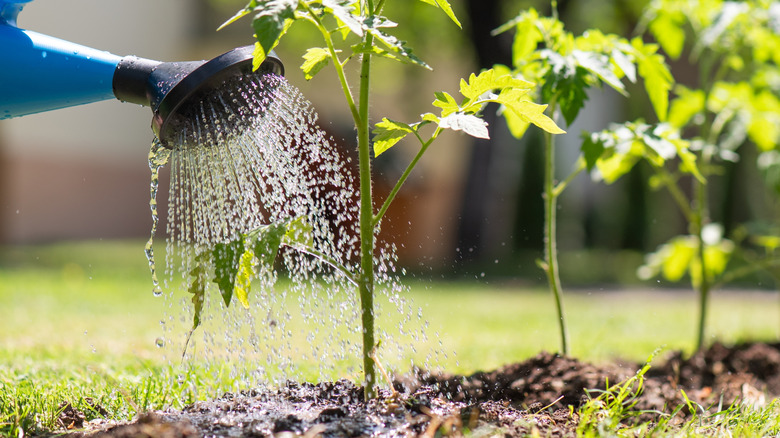
The reality is tomatoes need quite a bit of water –- around an inch or two per week. They also need that water delivered consistently and, most importantly, deeply so it reaches the root structure. Oftentimes, if you are hand watering plants, the water either bounces off the leaves and away from the roots or is absorbed by the surface soil before it reaches the deeper portions of the root structure. Too much water pressure can also displace soil from around the plant.
To solve these issues, various products like the Tomato Crater Garden Watering Tray have hit stores and online retailers. Such contraptions, which are designed to direct a set amount of water directly beneath the plant and to the roots, are effective. They are particularly useful given so many areas of the country have experienced drought conditions recently, making efficient watering essential. However, they also come with a cost. Utilizing leftover plastic nursery pots to DIY a simple tomato plant watering system will save you money and help reduce the plastic footprint of your gardening endeavors.
How to make and use a DIY landscape pot watering system
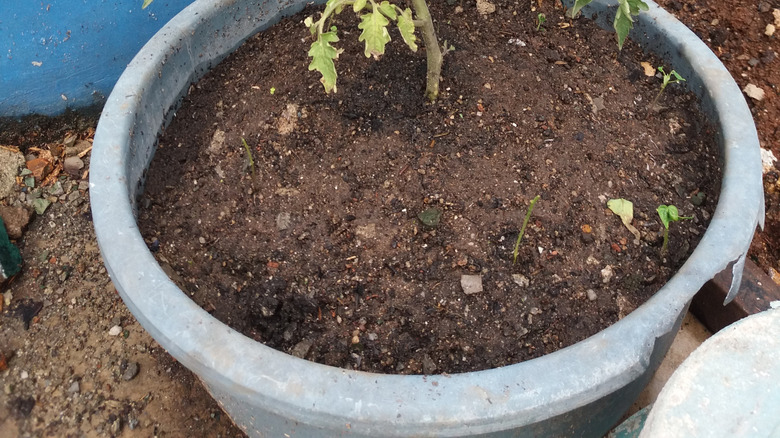
Begin by selecting an old landscape pot you are looking to repurpose. The circumference of the pot needs to be ample enough to slide over the top of the plant without damaging the leaves or any tomatoes already formed on the plant. This is easiest to do if the plants are still relatively young. If you don't have a pot large enough to place over the top, you can improvise with a smaller pot.
Once you've selected your landscape pot, use heavy scissors, shears, or a box cutter to cut the bottom out of the bucket. Slide it over the top of the plant and push it a few inches into the ground. If the ground is too hard to push the pot down, dig a small trench for the pot to sit in. If your pot is too small to go over the plant, cut a slit along the entire length of one side, open it slightly and slide it around the base. Bury it a few inches in the ground, using the dirt to hold it in place.
At that point, it is a simple matter of adding the desired amount of water inside the pot each time you water your plants. This can be done by hand with a hose or watering can. Keep in mind that heavy rain can lead to overwatering, especially if your landscape pot watering system fills with rainwater. In this situation, it may be necessary to lift the pot to allow excess water to drain away so it doesn't drown your tomato plant.