Transform An Old Wine Box Into An Eye-Catching Outdoor Planter
Filling a planter with flowers is a lovely way to enhance the beauty of your outdoor patio. It can be moved easily to capture the sunlight, and it offers your plants protection from being on the ground. Creating a planter from an old wine box is a unique way to repurpose this sturdy container that's used to transport delicate bottles. Usually made of durable pine or cedar, these crates are simple yet elegant. On the side of each box is the name of the vineyard, which carries a unique and timeless charm. Many home decor businesses have begun to offer planters made of wine crates for hundreds of dollars. However, it's easy to build your own by combining an old wine box with a few extra pieces of lumber.
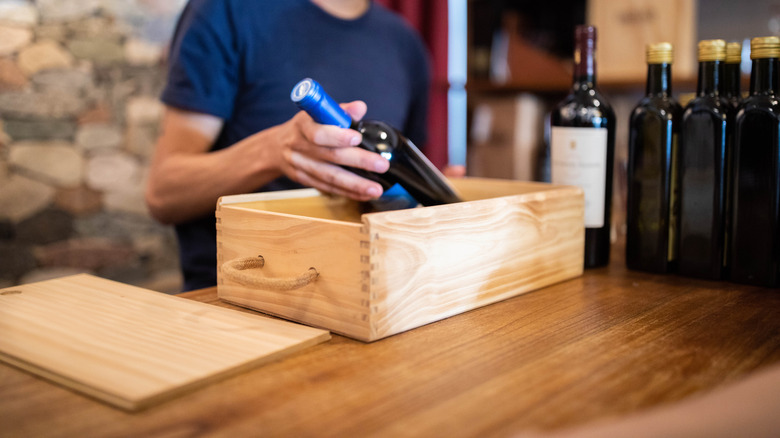
On his popular YouTube channel, Modern Builds, Mike Montgomery demonstrates how to create this unique planter. Liquor stores often have these containers left over in their storage rooms and are willing to give them away. The boxes are also offered on Amazon or Etsy for around $15 to $20. Remove any staples from the container, then apply wood glue and clamps around the sides to secure any gaps in the wood. Create the legs for the planter from 1-inch square pieces of pine that are cut 17.5 inches long. Measure the outline of each leg in the corners of the bottom of the box, then prepare to drill the holes where you'll insert them.
Add the legs to the planter
To drill the holes for the legs, use a ½ inch drill bit to create the hole that is big enough to accommodate a jigsaw blade. Then use the jigsaw to finish the 1-inch square hole that the legs will fit into. Before you insert the legs into the holes, place some 1-inch pieces of scrap wood underneath the box to create a gap, so that the legs will extend about ¾ inch above the top. Insert the legs into the holes, and add wood glue as you do so to make them more secure. Then fasten the legs by drilling into them from the outside of the box. Once the glue has dried, turn the box upright.
In order to give the unit more stability, measure four scrap pieces of wood to be placed as runners inside the bottom of the box. Space these out evenly and then glue them down firmly. Once all the glue has dried, use 220-grit sandpaper to smooth down the sides of the crate, being careful not to damage the logo on the outside. The next step is to apply a clear coat of finish to the box. Montgomery suggests using a heavy sealant that is intended for use on decks or fences, which will weatherproof the box for its use outside. This finish will also protect it from corrosion from the dirt that will be used later to fill it and transform it into a planter.
Plant your garden
The next step is to drill several holes in the bottom of the planter, which will allow water to drain out of the box. Place a layer of newspaper on the bottom so that the dirt won't escape through the drainage holes, or you can use a plastic liner that also has small drainage holes. When it comes time to fill up the planter, Montgomery spreads small scraps of lumber inside the box to help to fill up the roomy area. This tip can save money by taking up a large area of space with pieces of wood that are already on hand, and it also means that you don't need to pour as much potting soil into the container. As an alternative, add broken pieces of pottery inside, which will provide more drainage for the plants, then fill the rest of the planter with potting soil.
Now it's time to decide what to place in your new planter. Colorful annuals such as impatiens, pansies, petunias, or snapdragons will look bright and cheerful in this elegant container. Or you may choose to create a vegetable garden, by planting carrots, radishes, and turnips, or maybe a healthy mixture of lettuces such as kale, arugula, and spinach. This beautiful planter will provide a gracious and luxurious backdrop for everything that you grow inside, and it will become a charming focal point of your patio.